
Steps for Installing an Electric Hoist Safely and to Specification
The mechanical and electrical preparation of lifting equipment inside industrial facilities and warehouses is a pivotal engineering stage that tolerates no improvisation or leniency of any kind. Even a slight error in setting runway beam parallelism or the tightening torque of structural bolts can turn, over time, into destructive vibrations that wear out the wheels and travel axes and open the door to sudden collapse accidents that threaten lives and production lines. Moving toward the installation of a new electric hoist demands strict adherence to a precise execution sequence that matches global standards (such as FEM, OSHA and CMAA), starting with advance verification of the supporting structure, through track alignment and connection of smart control panels, and ending with certified field load tests that ensure sustained operational readiness with a full safety margin.
How Is an Electric Hoist Installed in a Safe and Certified Way?
Electric hoist installation follows a strict engineering sequence that begins with a structural survey and a laser straightness test of the runway beam, followed by mechanical lifting, assembly of the travel trolley and precise setting of its wheel clearance, then electrical connection of the insulated feed lines and low-voltage control circuits, with setting of the limit switches and emergency brakes, and culminating in static and dynamic load tests and the issue of the official calibration certificate.
Following these consecutive engineering steps ensures:
- Preventing uneven frictional wear of the trolley wheels and the edges of the steel beam flanges.
- Protecting motors and gearboxes from the stresses caused by an uneven track.
- Full compliance with civil defense, industrial inspection and occupational safety requirements.
Phase One: Structural Inspection and Advance Safety Preparations
Before any heavy equipment is brought into the hall, safety requirements call for a series of advance checks to prepare the installation environment:
1. Verifying the Efficiency of the Supporting Structure (Runway Beam Inspection)
The capacity of the girder or steel beam (I-Beam / H-Beam) to carry static and dynamic loads, bending forces and torsional moment must be confirmed, using optical and laser measuring instruments to verify the straightness of the track and the absence of any bow or tilt exceeding the tolerances allowed by the engineering code.
2. Securing the Field Work Area (Site Safety Protocol)
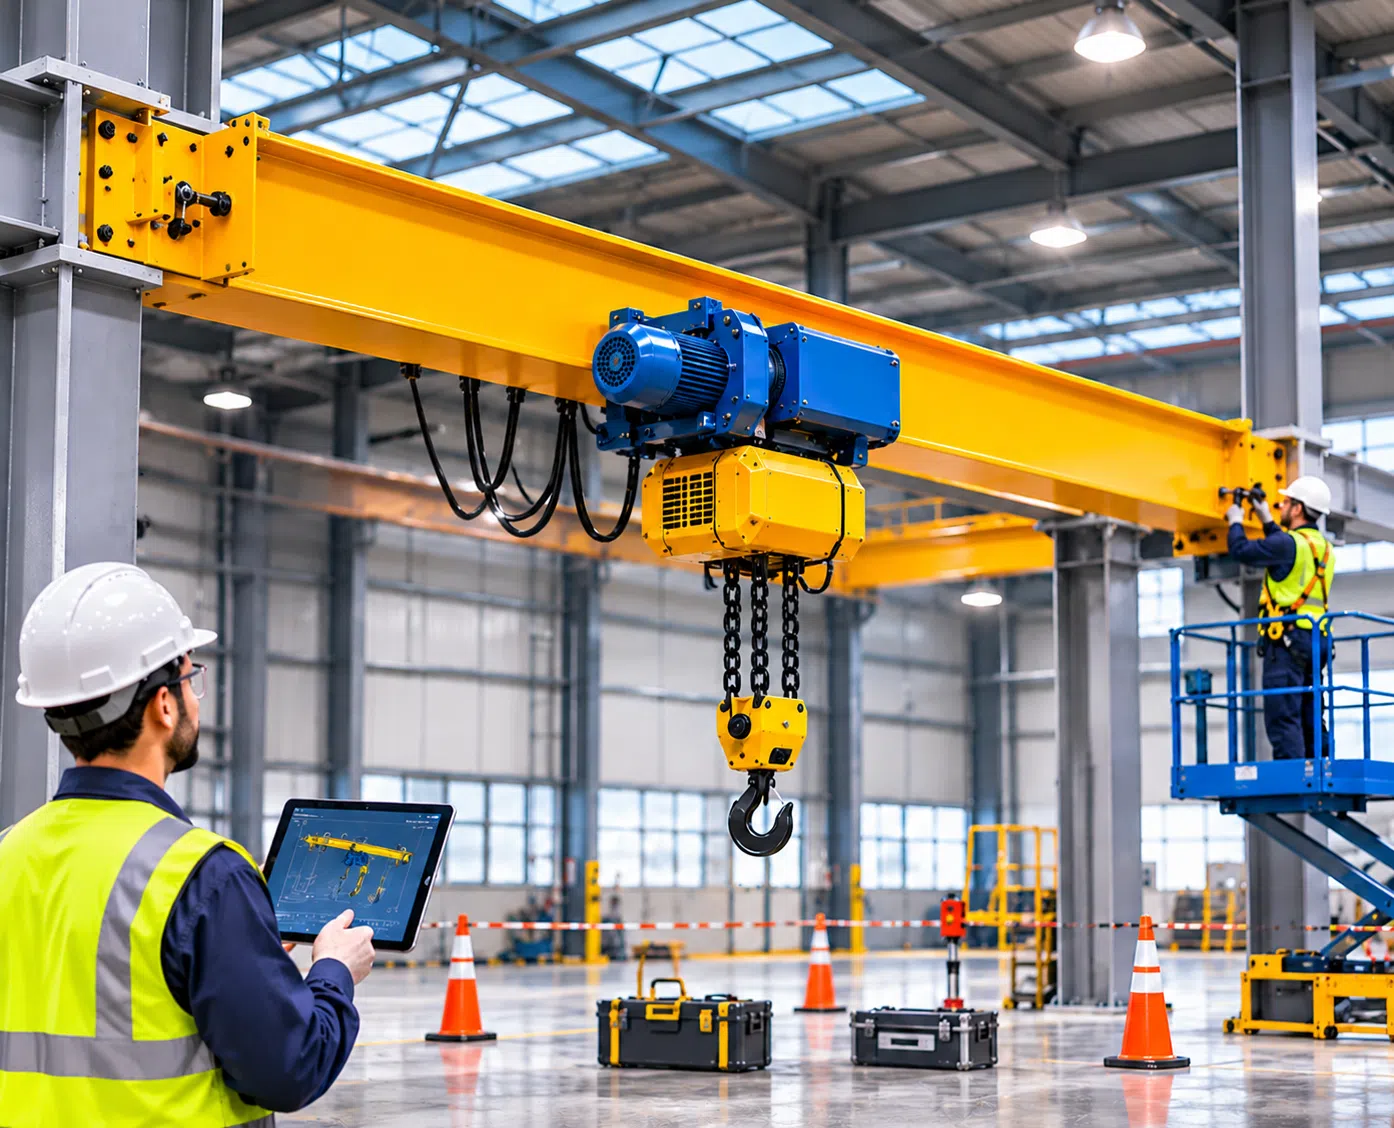
Completely cordon off the floor area beneath the installation path with warning tapes and safety barriers, isolate the general electrical power sources from the area, and require installation crews to wear full personal protective equipment (PPE), including double safety harnesses for work at great heights.
3. Checking Certificates of Origin and Mechanical Components
Match the serial numbers of the hoist, motors, gearboxes and control panels with the technical manuals and certified documents, and make sure the steel wire rope or chain links are intact and free of any kinks or damage caused by transport and shipping.
Phase Two: Mechanical Fixing and Trolley Assembly
This phase requires precise assembly skill to ensure full compatibility between the crane's wheels and the flange of the runway beam:
1. Setting the Wheel Flange Clearance
The cross-travel trolley (Trolley) is mounted around the runway beam, and the gap between the inner edges of the crane wheels and the edge of the steel flange is set by adding or removing spacer rings (Adjustment Washers). This engineered clearance must be set precisely between 2 and 4 mm on each side to ensure smooth travel that prevents the crane from jamming or leaving the track.
2. Torque Tightening of Pre-Tensioned Bolts
All fixing axes and high-tensile bolts (High-Tensile Bolts) are tightened with a calibrated torque wrench (Torque Wrench) to the values given in the manufacturer's manual, with safety split pins and locking nuts fitted to prevent nuts working loose under continuous operating vibration.
3. Installing Shock Absorbers and Track Ends (Mechanical End Stops)
Fix steel end stops fitted with rubber pads or hydraulic polyurethane dampers at both ends of the beam, to prevent the trolley exceeding the permitted travel and to absorb impact energy if the electrical stop switches fail.
Phase Three: Electrical Connections and Smart Control Systems
Electrical circuits need great care to ensure safe operation protected against leakage currents and sudden fluctuations:
1. Installing Insulated Feed Lines (Conductor Busbars)
Fix protected feed tracks with pure copper conductors alongside the runway beam, making sure the fixing brackets are tight, and connect the spring-loaded current collector arm (Current Collector) to ensure stable electrical flow with no sparking during movement.
2. Connection with Safe Low Control Voltage
The electrical control cabinets are connected to step-down transformers so that the switch circuits and handheld controls run at a safe low voltage (24 or 48 volts), protecting operators from any risk of electric shock in damp work environments.
3. Programming the Variable Frequency Drives (VFD) and Setting the Sensors
Calibrate the smart variable frequency drives to give very smooth, gradual acceleration and deceleration, and program the dual limit switches (Limit Switches) to cut motion automatically before the hook hits the hoist body on the way up, and before the rope turns run out on the drum on the way down.
Comparative Analysis: Certified Engineered Installation vs. Unspecialized Improvised Installation
The points below set out the key direct operational differences between using specialized engineering crews and relying on uncertified labor:
- Laser track alignment accuracy: Engineered installation ensures precision laser alignment that prevents uneven mechanical wear of rails and flanges, while improvised installation causes the crane's path to deviate and the wheels and gearboxes to wear quickly.
- Setting the safety system and load limiters: The engineering team carefully calibrates the digital load cells to cut motion instantly when the load is exceeded, whereas unspecialized labor may neglect to connect these sensors, leading to snapped cables and falling-load accidents.
- Connection efficiency and electrical circuit protection: Specialists follow approved insulation ratings and professional wire routing to prevent frequency interference, while poor manual wiring leads to electrical short circuits, burnt motor windings and damage to sensitive electronic boards.
- Official documentation and industrial inspection compliance: Certified installation provides a complete technical file including weld inspection reports and civil defense load test certificates, whereas unspecialized work lacks any legal documents proving the equipment's compliance with standards.
Phase Four: Load Testing and Operational Calibration (Commissioning & Load Testing)
The crane may not be handed over for actual work until it passes a set of standard mechanical tests under engineering supervision:
- No-Load Test: Run the hoisting and lowering movements and the trolley's left and right travel for several complete cycles to check smooth sound and the response of the wireless controls, and verify that the limit switches and the emergency stop button (E-Stop) work.
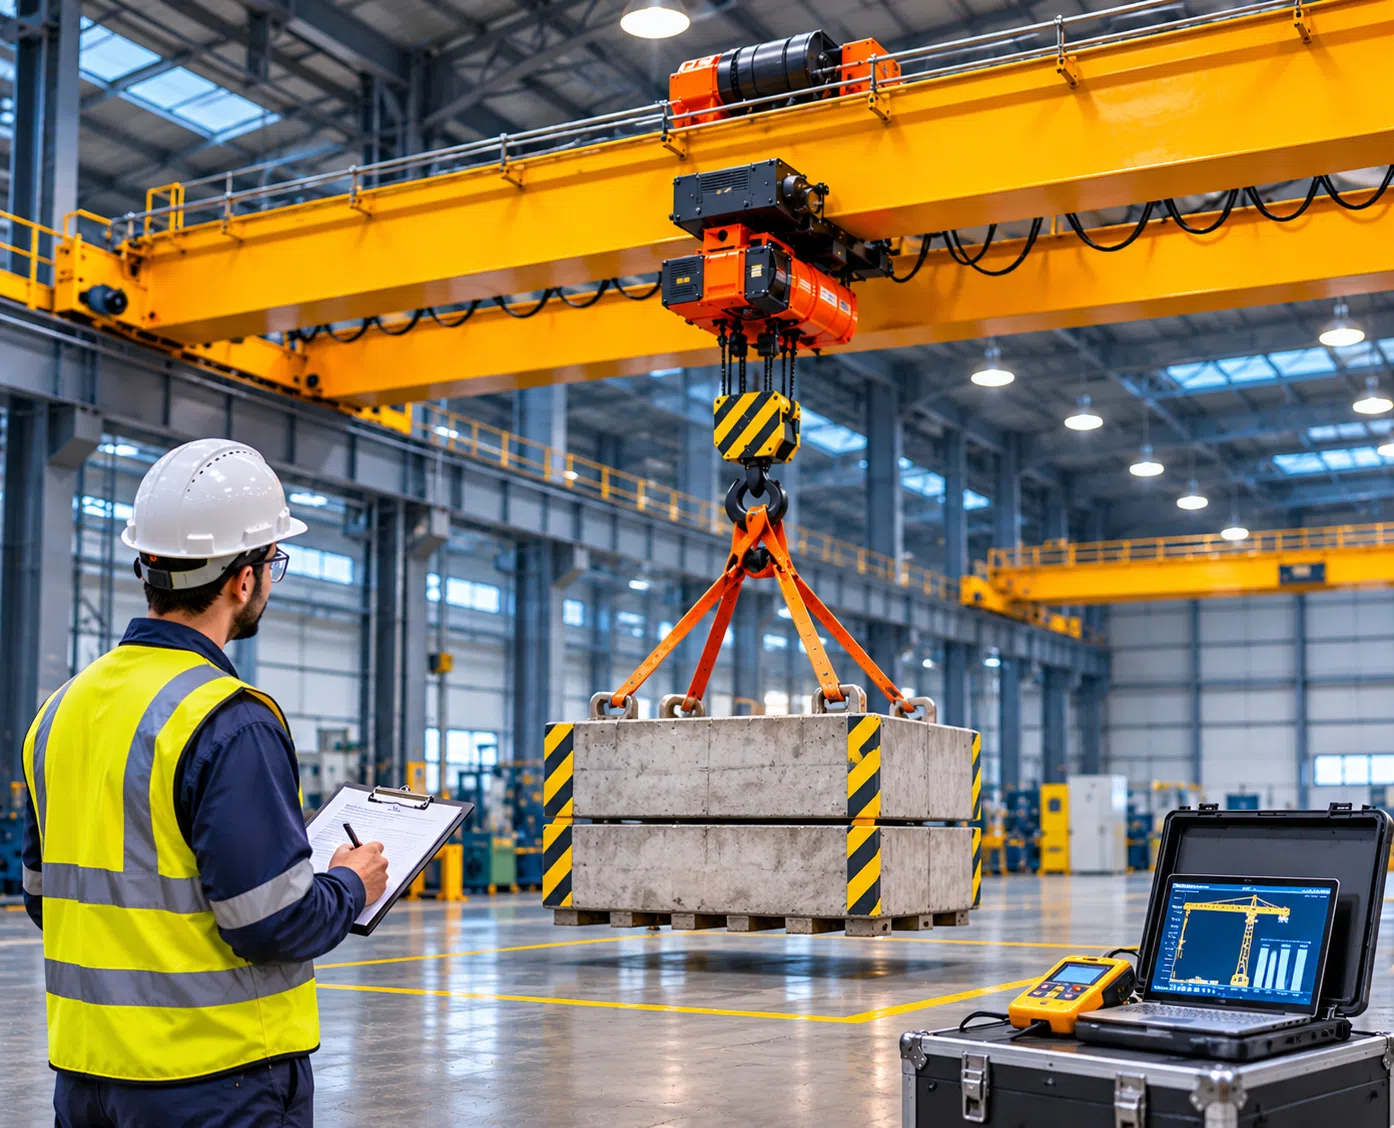
- Static Load Test (125%): Lift a weight equal to 125% of the equipment's rated load to a height of 10 to 20 cm above the ground and hold it in the air for 10 continuous minutes. The aim is to measure the steel beam's deflection (Deflection) and confirm it returns to its original straightness as soon as the load is lowered, with no permanent deformation.
- Dynamic Load Test (110%): Run the crane through all its movements, up, down and travel, carrying a weight equal to 110% of its maximum capacity, to test the efficiency of the electromagnetic brakes' response and their ability to stop the suspended load immediately with no mechanical slip.
How Do You Ensure a Safe, Certified Installation of Your Hoist with Al Manarat Al Monerah?
Al Manarat Al Monerah (almanratalmonerah.com) leads the supply and installation of industrial lifting equipment in the region, providing integrated execution solutions that ensure the highest levels of safety and reliability:
- Comprehensive engineering survey of the facility site: We inspect the existing hall beams and tracks, confirm their structural capacity to take the new crane's loads, and determine the lifting capacities suited to production requirements.
- Specialized technical crews equipped with the latest technology: Certified engineers and technicians with extensive execution experience, equipped with laser measuring instruments and calibrated torque wrenches, carry out every installation stage with complete precision.
- Supply and integration of genuine feed and control systems: We equip the crane with fully insulated electrical tracks, encrypted digital wireless control systems, and variable frequency drives that protect goods from swinging.
- Load testing and issuing certified calibration certificates: We carry out static and dynamic load tests with certified calibrated weights and provide official engineering inspection reports that qualify the equipment for immediate use and compliance with civil defense requirements.
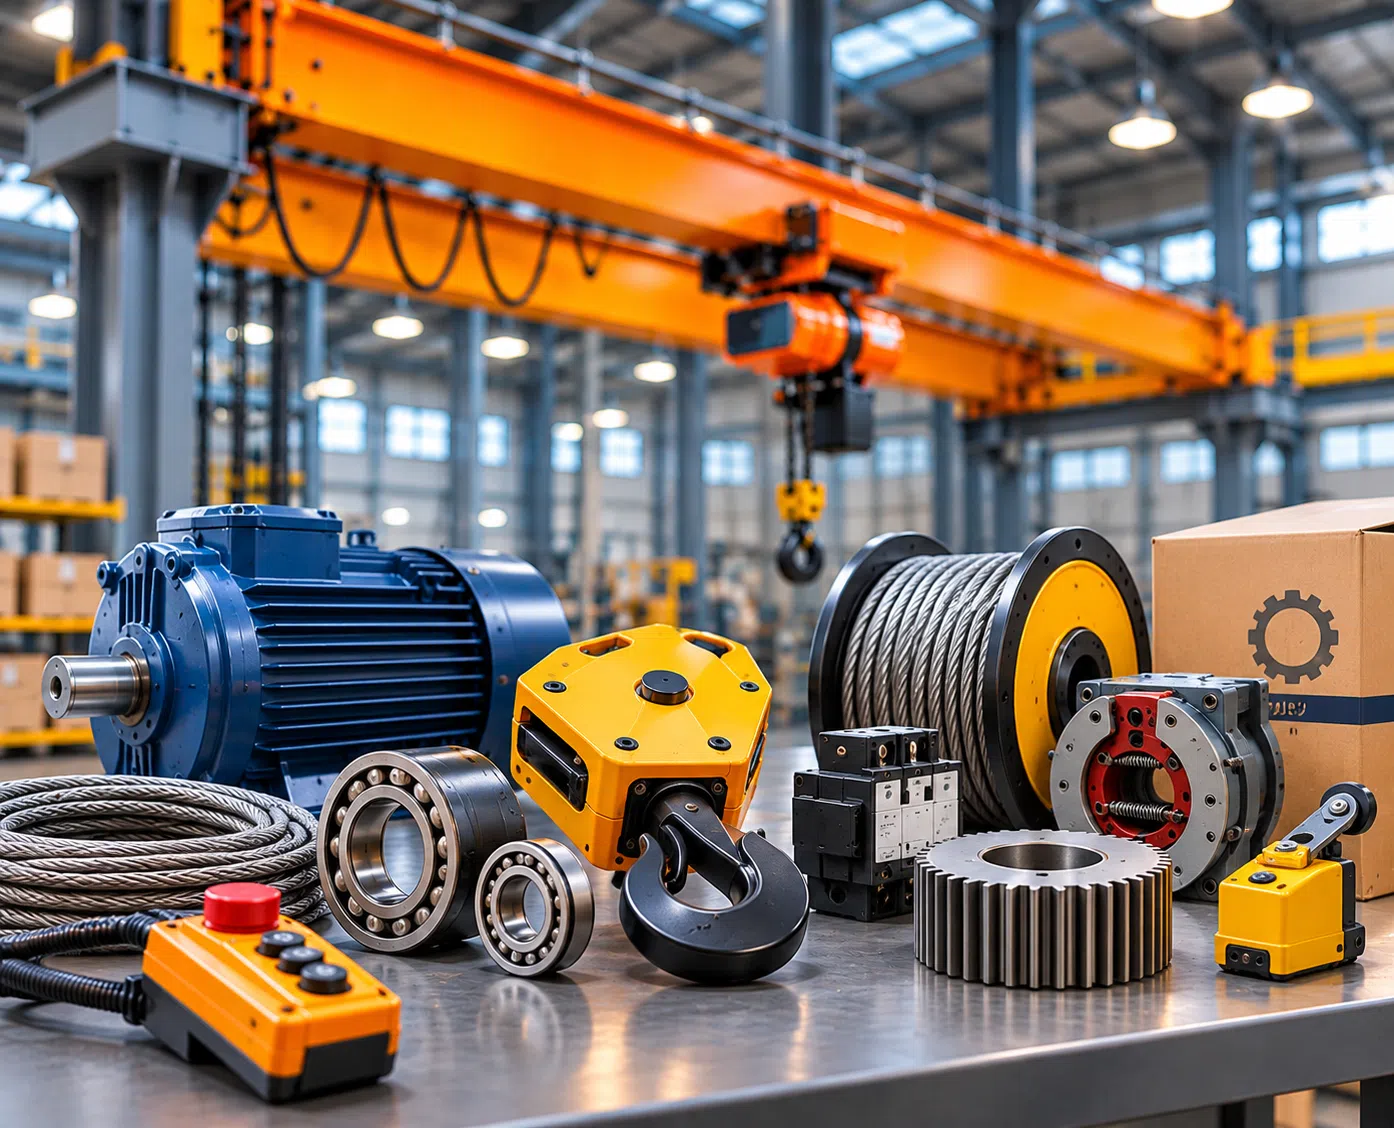
- Technical support readiness and genuine spare parts supply: Local warehouses stocked with motors, brakes, cables and control switches ensure periodic preventive maintenance that protects your plant from any sudden stoppage.
Al Manarat Al Monerah gives you direct access to its consultants to arrange a field visit to your site and discuss the details of the certified engineered installation of your electric hoists, ensuring the safety of the facility and multiplying its productive efficiency for decades to come.
Frequently Asked Questions About Electric Hoist Installation
How long does it take to install an electric hoist and make it ready for actual operation?
The mechanical and electrical installation of a hoist of typical capacity (1 to 5 tons) on an existing beam takes between 24 and 48 working hours, including field tests. Preparing large hoists that require entirely new runway beams can take several days, depending on the engineering dimensions and architectural conditions of the hall.
Can an electric hoist be installed on an ordinary roof beam without an engineering check?
Fixing any hoist on roof beams without a structural review and precise engineering calculations is strictly prohibited. Hoists generate dynamic loads, vibration forces and a doubled torsional moment that go beyond the item's mere self-weight, which can distort the steel structure and collapse the roof if proper reinforcement is absent.
What is the procedure if the hoist fails the static load test (125%)?
If the test shows excessive deflection that does not return to normal, or brake slippage, the equipment is shut down immediately, the weight is removed, and the steel beam's welds and fixing points are inspected so the structure can be re-reinforced. The electromagnetic brake lining clearance is also reviewed and mechanically readjusted before the test is repeated.
Read also: How Does an Electric Wire Rope Hoist Speed Up Demanding Handling Tasks?